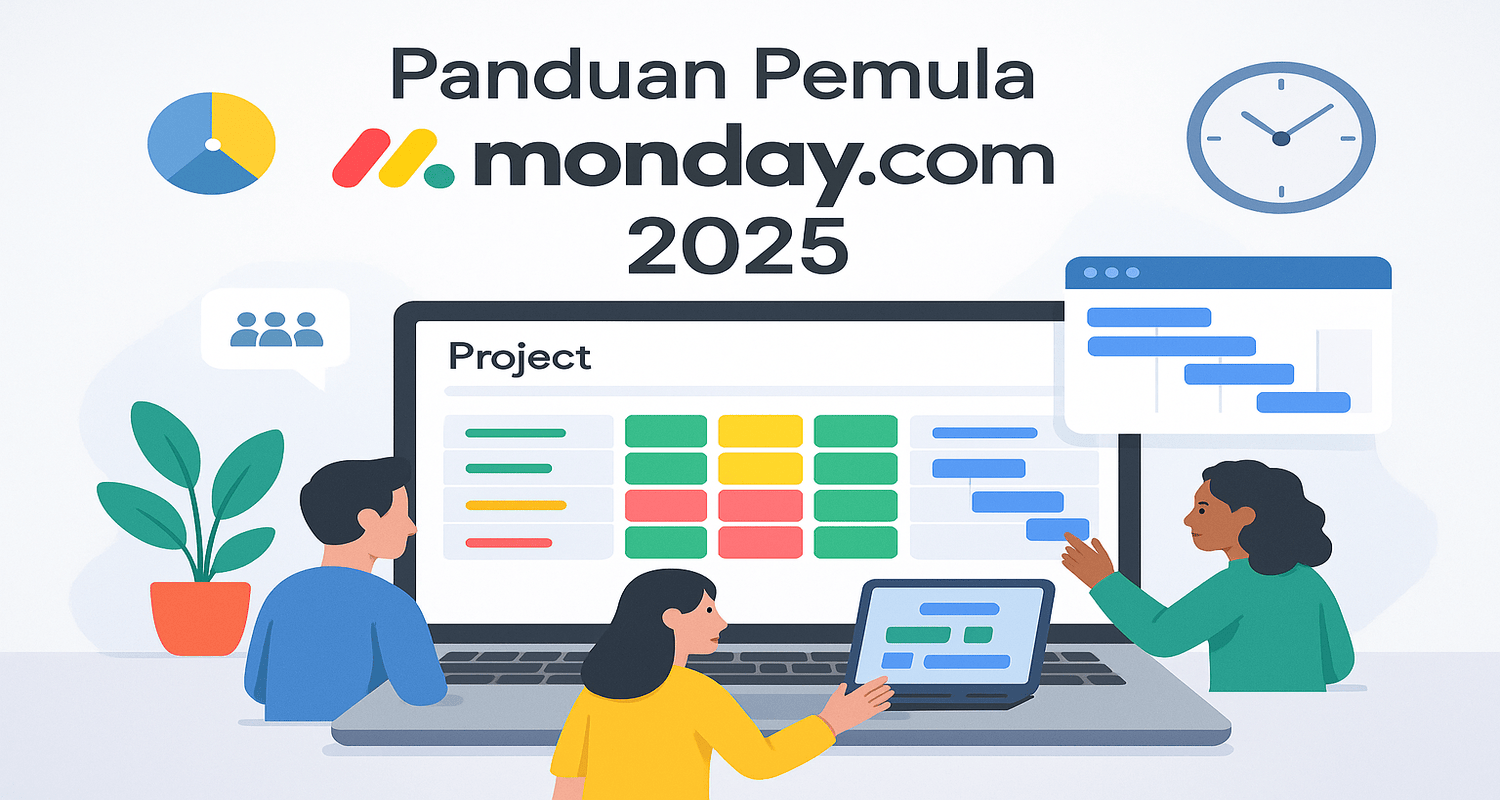
If you are new to
monday.com, this tutorial will show you how to use it for project management.
In this tutorial, you will learn how to create a project management system that
can manage multiple projects, track tasks, automate workflows, and give you a complete
overview of what is happening in your business.
The first step is to
visit monday.com and sign up with your Google account or email. After that,
answer a few questions to customize your experience. You will be asked to name
your first workspace, which serves as a large folder for the entire company or
department. Within the workspace, you will create a “board” for each project or
work area.
After creating a
board, you can add groups for project phases such as “Planning,” “Development,”
and “Launch.” Each group can be color-coded for easy recognition. Within a
group, you will add “items” or tasks that need to be completed.
To track tasks, you can add columns such as person assigned, task status, and deadline. monday.com also allows you to add custom columns such as priority, budget, or files to attach important documents.
After assigning tasks,
you can invite team members to work together. The collaboration feature in
monday.com allows teams to provide updates, share files, and communicate
directly within the board. You can also use automation to save time, such as
deadline reminders or notifications when tasks are completed.
Finally, create a
dashboard to view the overall status of the project. This dashboard displays
graphs, timelines, or other important information that can be shared with
relevant parties.
With monday.com, you
can manage projects, collaborate with teams, and improve work efficiency. We
hope this tutorial is useful and helps you get started!
 English
 Indonesia


Add New Comment